Finding freehand poking difficult? Stencil it.

What you need
- One small packet of stencil transfer gel
- One 5.5 x 4 inch piece of freehand stencil transfer paper (not-thermal)
These products are included in every Stick and Poke Tattoo Kit, and they are vegan friendly, cruelty free and non-toxic.
Step by step guide
Step 1
Choose a design you wish to poke.

Step 2
Remove the brownish paper that is between the waxy paper and the top white paper.


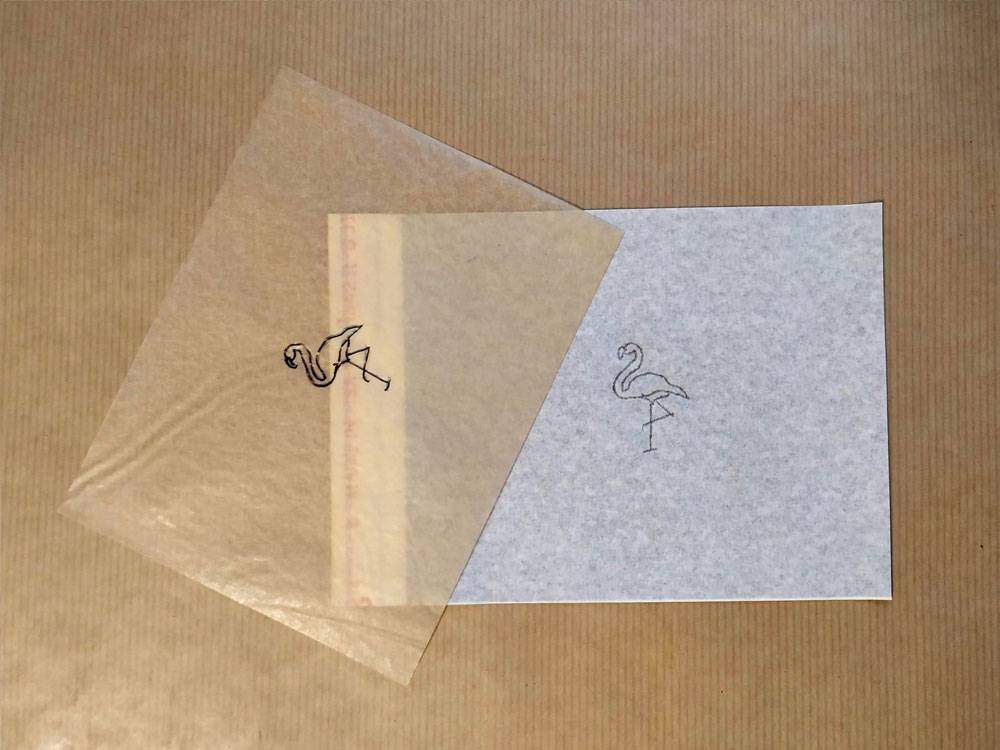
Step 3
Use the brownish paper to transfer your design.


Step 4
Use the brownish paper with the transferred design to draw on the top white sheet so that the waxed paper transfers the art to the white paper.

Step 5
Detach the paper with the artwork and cut around it using scissors.


Step 6
Wash your hands and he selected body part with antibacterial soap and rub the area with an alcohol pad. Dab a dime sized drop of the stencil transfer lubricant and wipe on a thin and even layer onto the region, making sure to cover the tattoo area and a few inches beyond. It should not be a wet surface, just damp. Carefully place the paper on the skin (inked side down on skin) of the area. Hold in place and still for a minute.

Step 7
Peel it off and let the skin dry for 8 minutes.

There you go! Remember you can buy a Stick and Poke Tattoo Kit here.